Mastering the Art of Dent Removal: A Step-by-Step DIY Guide
Driving down the road, you spot a dent in your car’s pristine bodywork, and your heart sinks. No one likes dealing with automotive dents, but the good news is that with the right tools and techniques, you can tackle these unsightly blemishes yourself. In this detailed guide, we’ll walk you through the process of removing a common type of dent – the “door ding” – so you can restore your car’s flawless appearance without breaking the bank.
Understanding the Dent: Assessing the Damage
The first step in any DIY dent repair is to carefully examine the affected area. Door dings, which are typically small, circular dents caused by another car door hitting your vehicle, are relatively straightforward to fix. These types of dents are usually shallow and limited in size, making them an excellent candidate for a successful DIY repair.
To assess the dent, run your hand over the affected area and take note of the depth and size. If the dent is deeper than a quarter-inch or spans a large portion of the panel, it may be best to consult a professional auto body shop. Deeper or more extensive dents often require specialized tools and techniques that are beyond the scope of a DIY project.
Gathering the Necessary Tools
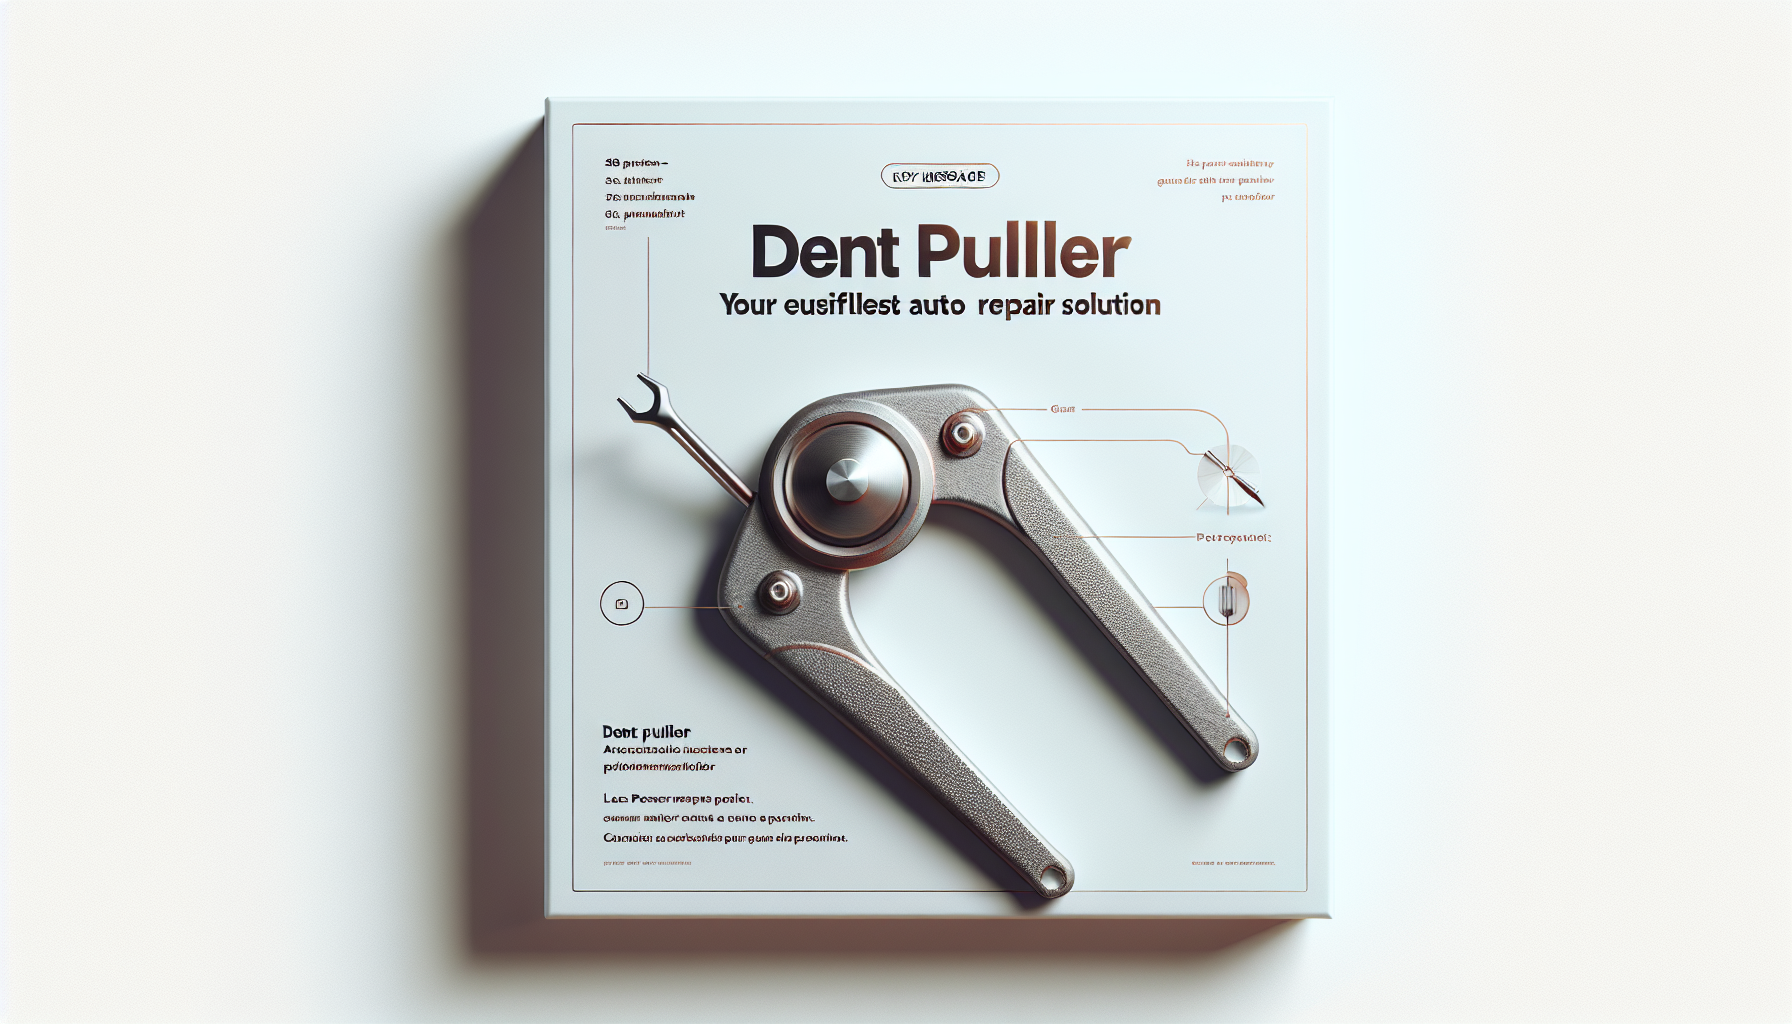
For this dent repair, you’ll need the following items:
– Dent repair tool kit (including a dent puller, glue gun, and stiff plastic cards)
– Rubbing alcohol or denatured alcohol
– Clean, lint-free rags

– Masking tape
– Primer and touch-up paint (matching your car’s color)
It’s important to invest in a high-quality dent repair tool kit, as the tools in these kits are specifically designed for the job. Avoid using makeshift tools, as they can easily damage the surrounding paint or bodywork.
Preparing the Dent for Repair
Before you begin the repair process, it’s crucial to thoroughly clean the affected area. Use rubbing alcohol or denatured alcohol to remove any dirt, grease, or debris, ensuring a clean surface for the dent repair tools to work effectively.
Next, use the masking tape to outline the dent’s perimeter, creating a clean, defined work area. This will help you avoid accidentally damaging the surrounding paint.
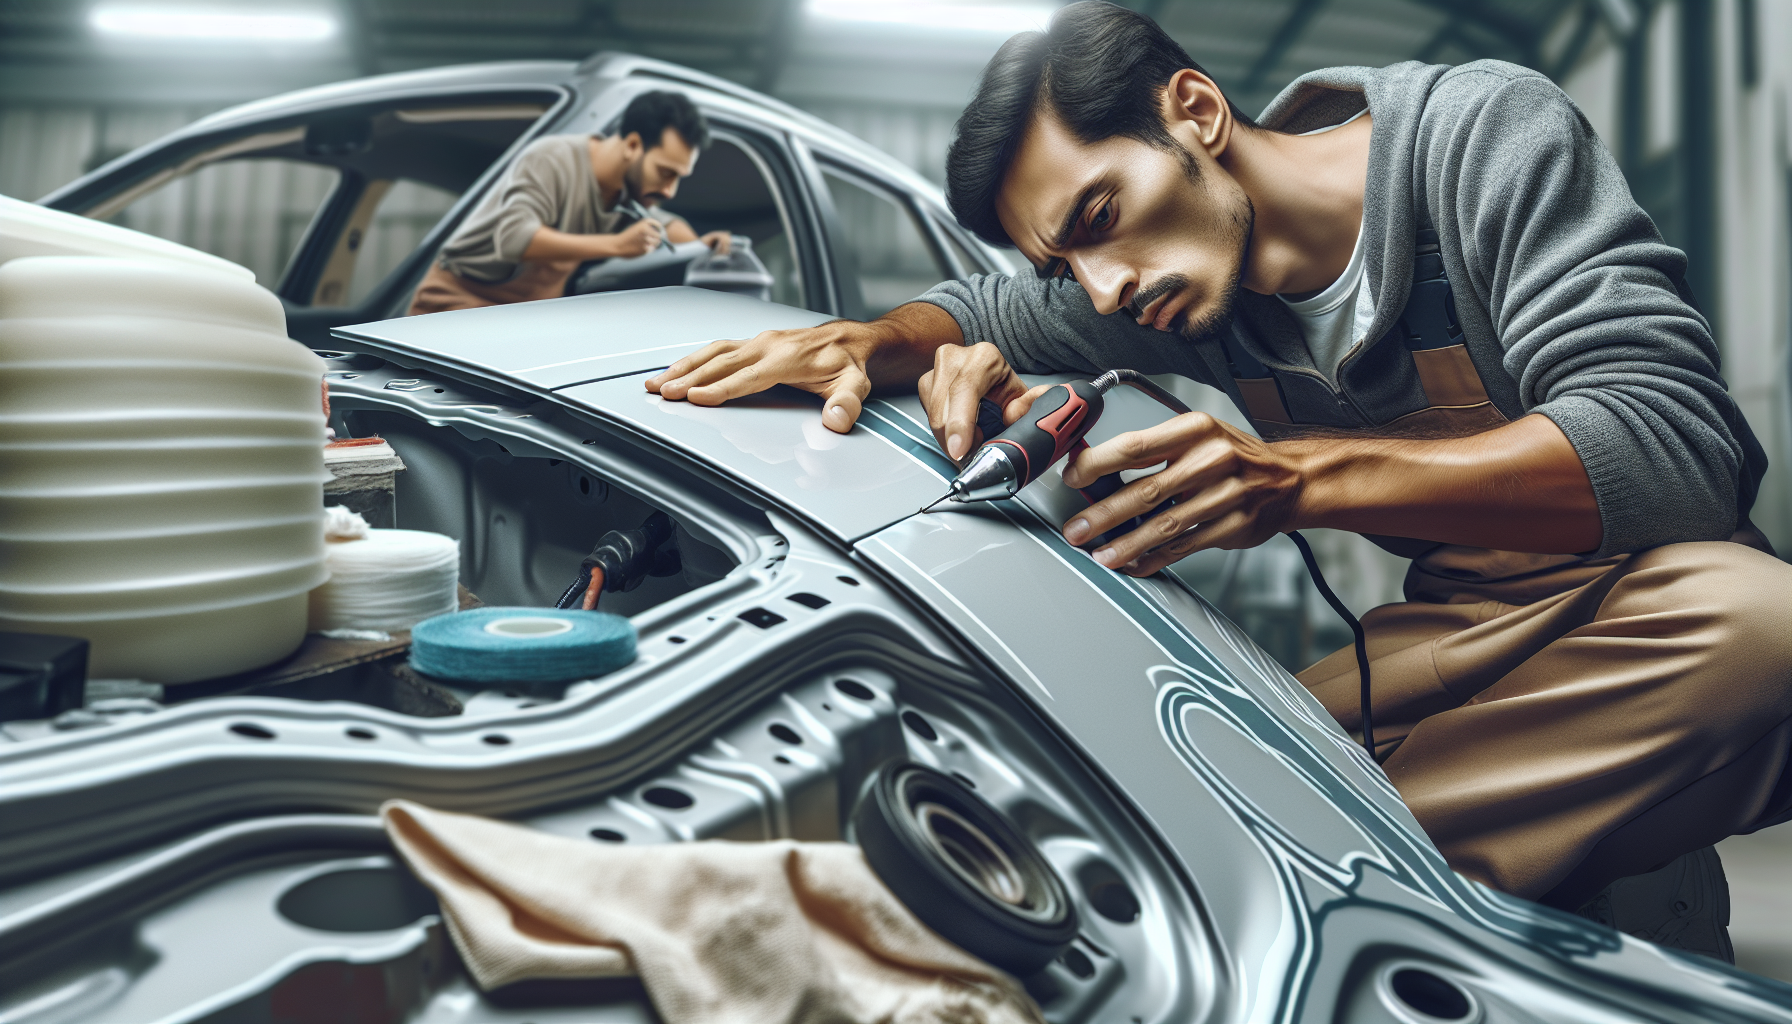
Pulling the Dent
With the area prepped, it’s time to start the dent removal process. Attach the dent puller’s suction cup to the center of the dent, ensuring a secure and even hold. Gently pull the handle of the dent puller outward, applying steady pressure until the dent begins to lift.
If the dent doesn’t respond to the initial pull, try using the glue gun to apply a small amount of glue to the center of the dent. Press the dent puller’s suction cup firmly onto the glue and allow it to dry for a few minutes before attempting to pull the dent again.
Once the dent is partially removed, use the stiff plastic cards to gently massage the surrounding area, helping to smooth out any remaining imperfections.
Finishing Touches
With the dent successfully removed, it’s time to address any remaining surface irregularities. Carefully inspect the area and, if necessary, use the plastic cards to lightly tap down any high spots or uneven areas.
If the paint has been damaged or cracked during the repair process, you’ll need to apply a small amount of primer and touch-up paint to restore the surface. Carefully follow the instructions on the paint product to ensure a seamless, professional-looking finish.
Difficulty Level and Recommended Application
The DIY dent repair technique outlined in this guide is suitable for small to medium-sized door dings or minor dents. This process is relatively straightforward and can be successfully completed by most DIY enthusiasts with a little patience and attention to detail.
However, it’s important to note that larger or more complex dents may require the expertise of a professional auto body shop. If the dent is deeper than a quarter-inch, spans a significant portion of the panel, or is accompanied by cracked or chipped paint, it’s best to consult with a specialist to ensure a proper and long-lasting repair.
To see this dent repair technique in action, check out our demonstration video: [No-follow hyperlink to video]
By following these steps, you can tackle those unsightly dents and restore your car’s showroom-like appearance. Remember, safety should always be your top priority, and if you’re ever unsure about the complexity of the repair, it’s better to err on the side of caution and seek professional assistance. Happy dent removal!