Paintless Dent Repair: Your Guide to Hassle-Free Dent Removal
As a passionate DIY enthusiast, you take great pride in maintaining your beloved vehicle. But when those inevitable dents and dings appear, it can be tempting to head straight to the auto body shop, wallet in hand. However, with the right knowledge and tools, you can tackle even the trickiest dent repairs right at home.
Enter paintless dent repair (PDR) – a game-changing technique that allows you to restore your car’s flawless finish without the need for expensive bodywork or repainting. In this comprehensive guide, we’ll walk you through the step-by-step process, equipping you with the essential skills and techniques to achieve professional-grade results.
Mastering Paintless Dent Repair: A Beginner’s Guide
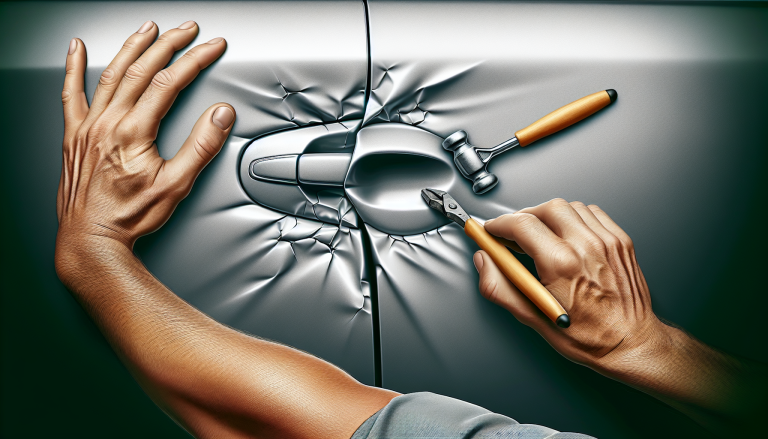
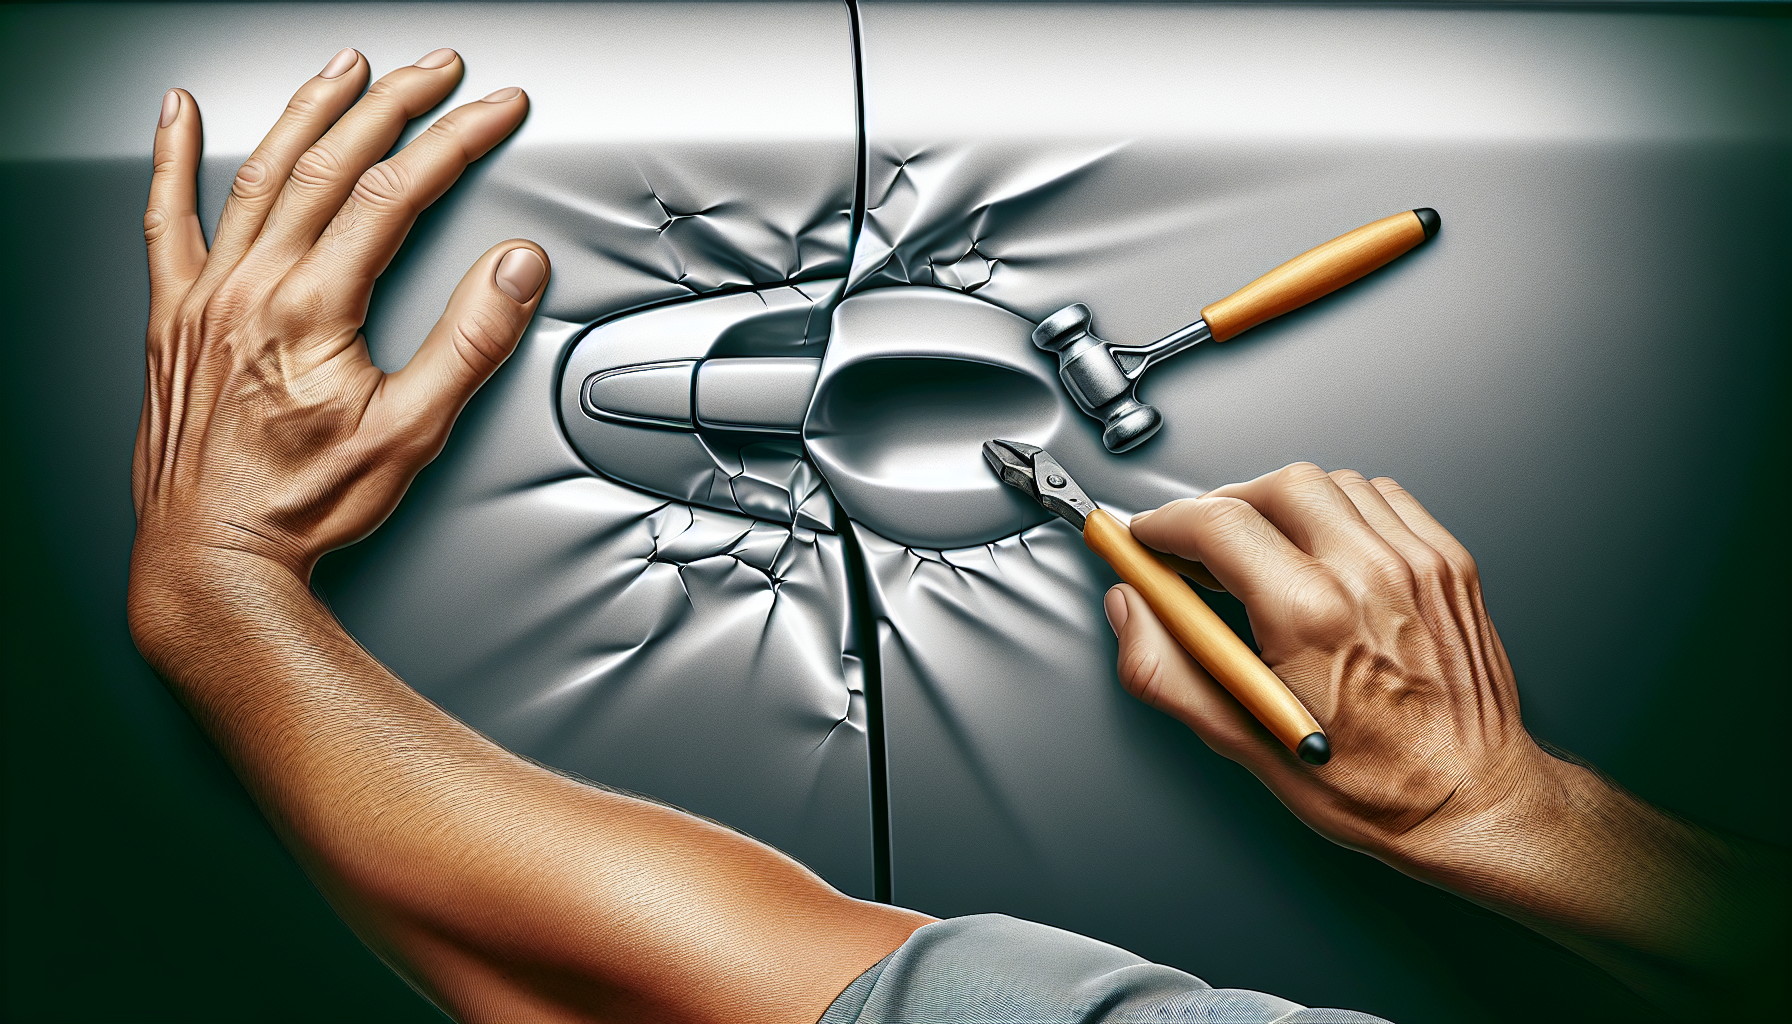
Paintless dent repair is a versatile and affordable solution for a wide range of dent types, from hail damage to minor door dings. The beauty of this method lies in its ability to gently massage the dent back into its original shape, without ever needing to disturb the existing paint.
Before we dive in, it’s important to assess the severity of the dent and determine whether PDR is the appropriate course of action. As a general rule, paintless dent repair is best suited for shallow, rounded dents without any paint or clear coat damage. For deeper, sharper dents or those with cracked paint, you may need to consider alternative repair methods.

Step 1: Gather Your Tools
To get started, you’ll need a few essential tools:
– Dent removal tools (such as metal rods, hammers, and dent pullers)
– Lighting equipment (bright work lights or a dent repair lamp)
– Masking tape or protective film
– Cleaning supplies (lint-free cloths, isopropyl alcohol)
Invest in a high-quality dent repair toolkit to ensure optimal results. Inferior tools can cause further damage or even leave unsightly marks on your vehicle’s surface.
Step 2: Prepare the Dent
Begin by thoroughly cleaning the affected area, using isopropyl alcohol to remove any dirt, grease, or debris. This will ensure a clean, unobstructed surface for the repair process.
Next, use masking tape or protective film to cover any adjacent panels or trim pieces, shielding them from potential damage during the repair.
Step 3: Assess the Dent
Take a close look at the dent, examining its shape, size, and depth. This will help you determine the best approach and the appropriate tools to use.
If the dent is shallow and relatively wide, you’ll likely be able to use metal rods and dent pullers to gently massage the metal back into its original shape. For deeper, more complex dents, you may need to employ a combination of tools, including specialized hammers and dent removal tools.
Step 4: Apply Pressure from the Backside
With the dent properly assessed, it’s time to begin the repair process. Start by applying pressure to the backside of the dent, using your metal rods or dent pullers. Gently work the metal, slowly and methodically, until you begin to see the dent start to push out.
Remember to work in small, incremental steps, taking care not to apply too much force. Overworking the metal can lead to further damage or even cracking of the paint.
Step 5: Smooth and Finish
As the dent starts to take shape, continue refining the repair using a combination of tools and techniques. This may involve using gentle tapping motions with a specialized hammer to further smooth and flatten the surface.
Throughout the process, be sure to keep the area well-lit, using your work lights or dent repair lamp to carefully inspect the progress. This will help you identify any remaining imperfections and ensure a flawless finish.
Difficulty Level and Damage Type
Paintless dent repair is generally considered a beginner-friendly technique, making it an accessible option for DIY enthusiasts. However, the difficulty level can vary depending on the size, depth, and complexity of the dent.
For shallow, rounded dents, the repair process is relatively straightforward and can often be completed in a single session. More severe or oddly-shaped dents may require more time and patience, as well as a more nuanced approach to the repair.
It’s important to note that paintless dent repair is best suited for dents without any paint or clear coat damage. If the dent has caused cracking or chipping of the paint, you may need to explore alternative repair methods, such as traditional body filler or panel replacement.
Demonstration Video
For a visual demonstration of the paintless dent repair process, be sure to check out our [no-follow] video tutorial, where our expert, DentMasterDave, walks you through the step-by-step process from start to finish.
In the video, you’ll see firsthand how Dave’s friendly, approachable style and wealth of knowledge make even the most complex dent repairs accessible to DIY enthusiasts of all skill levels. With his clear, easy-to-follow instructions and top-notch tool recommendations, you’ll be well on your way to achieving professional-grade results in no time.
Remember, the key to successful paintless dent repair lies in patience, attention to detail, and a steady hand. By following these guidelines and honing your skills through practice, you can save yourself countless trips to the auto body shop and keep your beloved vehicle looking its best.
So, what are you waiting for? Grab your tools, put on your DIY hat, and get ready to tackle those pesky dents – the flawless finish of your car is just a few steps away!


