The Magic of Paintless Dent Repair: A Detailed Guide to Using the Dent Puller
As a seasoned DIY auto body repair enthusiast, I know firsthand the challenges of restoring a vehicle’s pristine appearance after a pesky dent. However, with the right tools and techniques, you can bring your car back to showroom condition without the hassle and expense of traditional dent repair methods. In this detailed guide, I’ll walk you through the step-by-step process of using a dent puller to tackle various types of automotive dents.
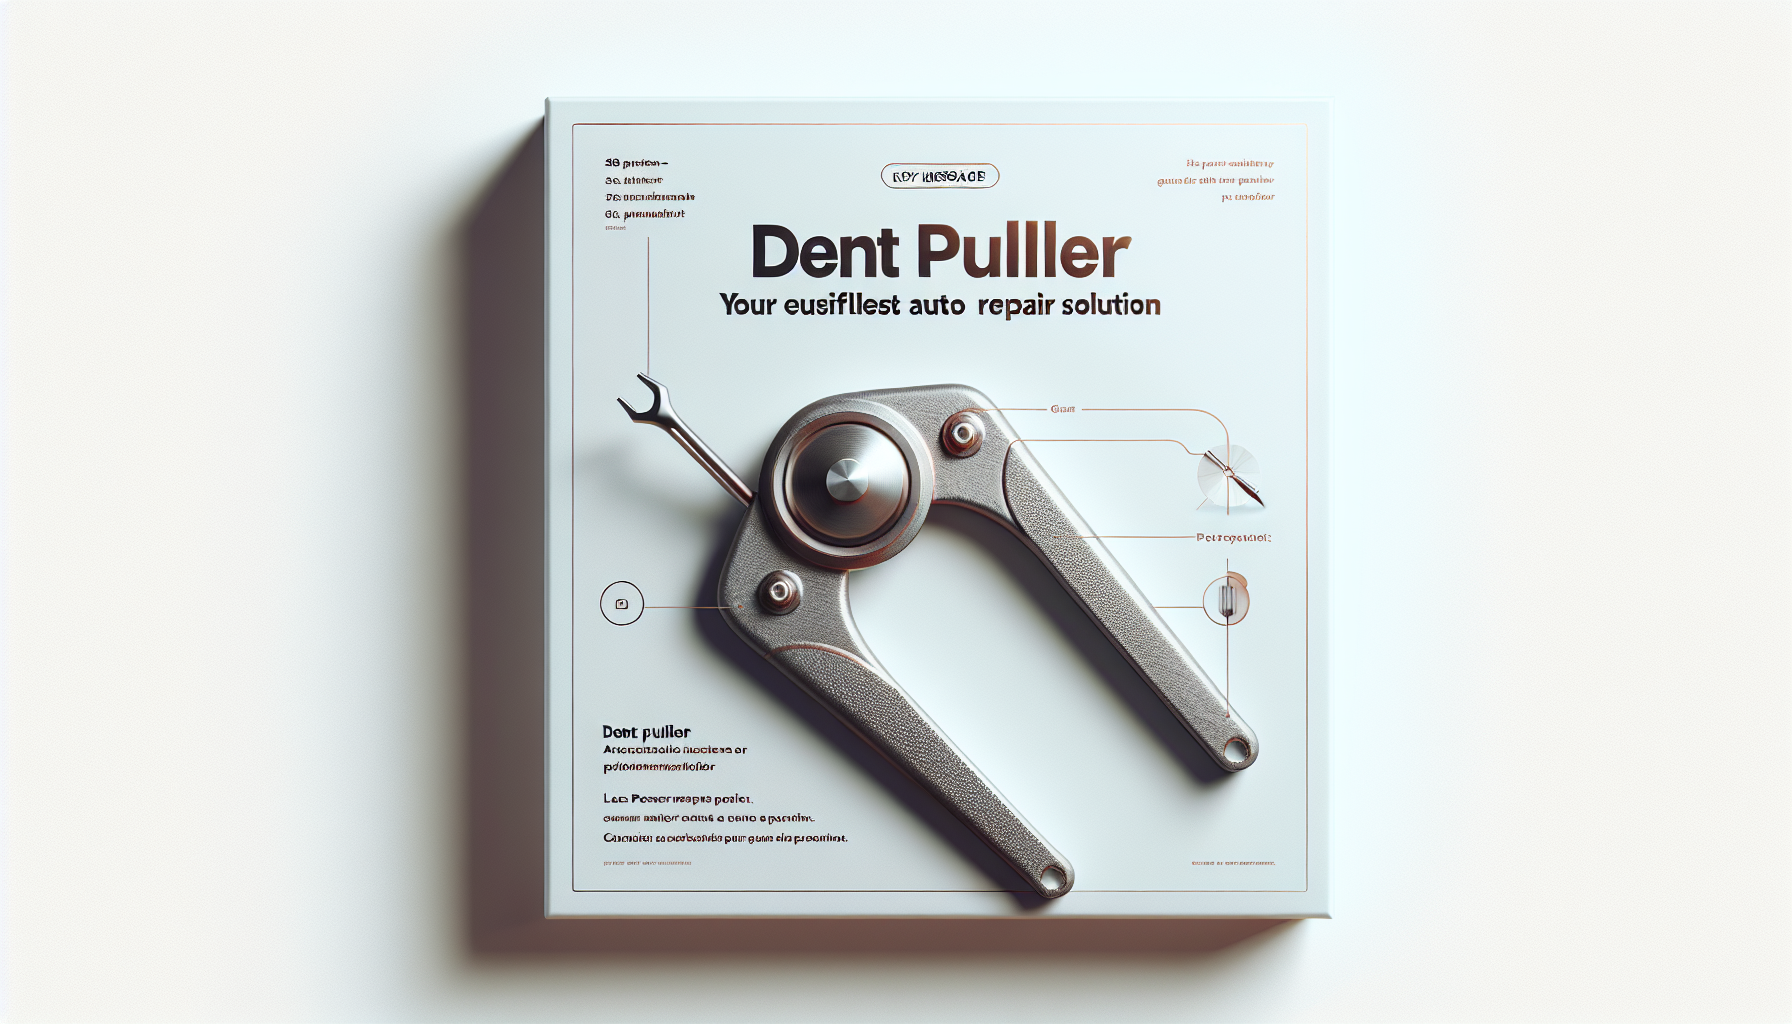
Introducing the Dent Puller: Your Key to Effortless Dent Repair
The dent puller, also known as a paintless dent repair (PDR) tool, is a game-changer in the world of DIY automotive dent repair. This versatile tool allows you to gently massage the metal back into its original shape, effectively restoring the surface without the need for costly paint touch-ups or bodywork.
[Hyperlink to image of a dent puller tool]
The dent puller is relatively easy to use, making it an excellent choice for DIY enthusiasts. It’s typically classified as a medium-difficulty tool, suitable for repairing minor to moderate dents on your vehicle. Whether you’re dealing with a ding from a shopping cart, a hailstone dent, or a minor collision, the dent puller can be your go-to solution.
Preparing for Dent Repair: Essential Steps
Before you dive into the dent repair process, it’s crucial to properly prepare your workspace and gather the necessary materials. Here’s what you’ll need:
1. A clean, well-lit work area: Choose a spacious, well-lit location, such as your garage or a designated work station, to ensure you have ample room to maneuver and can clearly see the dent.
2. Cleaning supplies: Gather a clean microfiber cloth, mild soap, and water to thoroughly clean the affected area. This will help you identify the dent’s precise location and assess its severity.
3. The dent puller: Ensure you have the appropriate dent puller tool for the job. Consider the size and shape of the dent when selecting the right puller.
4. Gloves (optional): Wearing a pair of gloves can help protect your hands during the repair process.
With your workspace and tools ready, let’s dive into the step-by-step guide for using the dent puller to tackle those pesky dents.

Step-by-Step Guide to Using the Dent Puller
1. Assess the dent: Carefully examine the dent, taking note of its size, shape, and location on the vehicle. This information will help you determine the best approach and the appropriate dent puller tool to use.
2. Clean the affected area: Using the microfiber cloth, mild soap, and water, thoroughly clean the dent and the surrounding area. This will ensure you have a clear view of the dent and prevent any dirt or debris from interfering with the repair process.
3. Attach the dent puller: Carefully position the dent puller tool over the dent, ensuring a secure and stable attachment. Many dent pullers come with various attachments or accessories to accommodate different dent sizes and shapes.
4. Gently pull the dent: Slowly and steadily, begin pulling the dent puller away from the surface of the vehicle. Apply even pressure and avoid jerking or yanking the tool, as this can potentially cause further damage.
5. Monitor the progress: Closely observe the dent as you pull the tool. If the dent is not responding as expected, try adjusting the angle or the amount of pressure you’re applying.
6. Repeat as needed: Depending on the severity of the dent, you may need to repeat the pulling process several times to achieve the desired results. Be patient and take your time, as rushing the process can lead to unintended consequences.
7. Check the surface: Once the dent has been successfully pushed out, use your hand or a soft cloth to gently feel the surface. Ensure that the area is smooth and even, and that no further touch-ups are required.
8. Finish with a polish (optional): For an extra touch of shine and to blend the repaired area seamlessly, consider applying a light car polish or wax to the affected area.
Remember, the key to successful dent repair with a dent puller is patience, attention to detail, and a gentle touch. By following these steps, you’ll be able to tackle a wide range of automotive dents with confidence and achieve professional-looking results.
Tackling Different Types of Dents with the Dent Puller
The versatility of the dent puller makes it an excellent tool for repairing various types of automotive dents. Here’s a quick overview of the types of dents you can address with this handy tool:
1. **Minor Dings and Dents**: The dent puller excels at repairing small, shallow dents caused by minor impacts, such as those from shopping carts, hailstones, or light collisions.
2. **Moderate Dents**: For larger, more pronounced dents, the dent puller can still be an effective solution. With a little more patience and attention to detail, you can gradually massage the metal back into its original shape.
3. **Dents with Creases or Folds**: The dent puller can also be used to address dents with minor creases or folds in the metal. By applying a combination of pulling and manipulation techniques, you can often smooth out these more complex dents.
Remember, the difficulty level of using the dent puller may vary depending on the size, depth, and location of the dent. Always exercise caution and be prepared to seek professional assistance if the dent is beyond your DIY capabilities.
“The key to successful DIY dent repair is patience, attention to detail, and a gentle touch. With the right tools and techniques, you can achieve professional-looking results and save yourself a trip to the auto body shop.” – ToolTimeTerry
By mastering the art of using the dent puller, you’ll be well on your way to tackling a wide range of automotive dents and restoring the pristine appearance of your vehicle. So, what are you waiting for? Grab your dent puller and get ready to work your magic!