Paintless Dent Repair: A Simple and Effective DIY Technique for Restoring Your Car’s Pristine Appearance
As a passionate car enthusiast and DIY repair expert, I’ve encountered my fair share of dents and dings. While traditional dent repair methods can be costly and time-consuming, there’s a remarkable technique that allows you to restore your car’s appearance without compromising its original finish – paintless dent repair (PDR).
Understanding Paintless Dent Repair
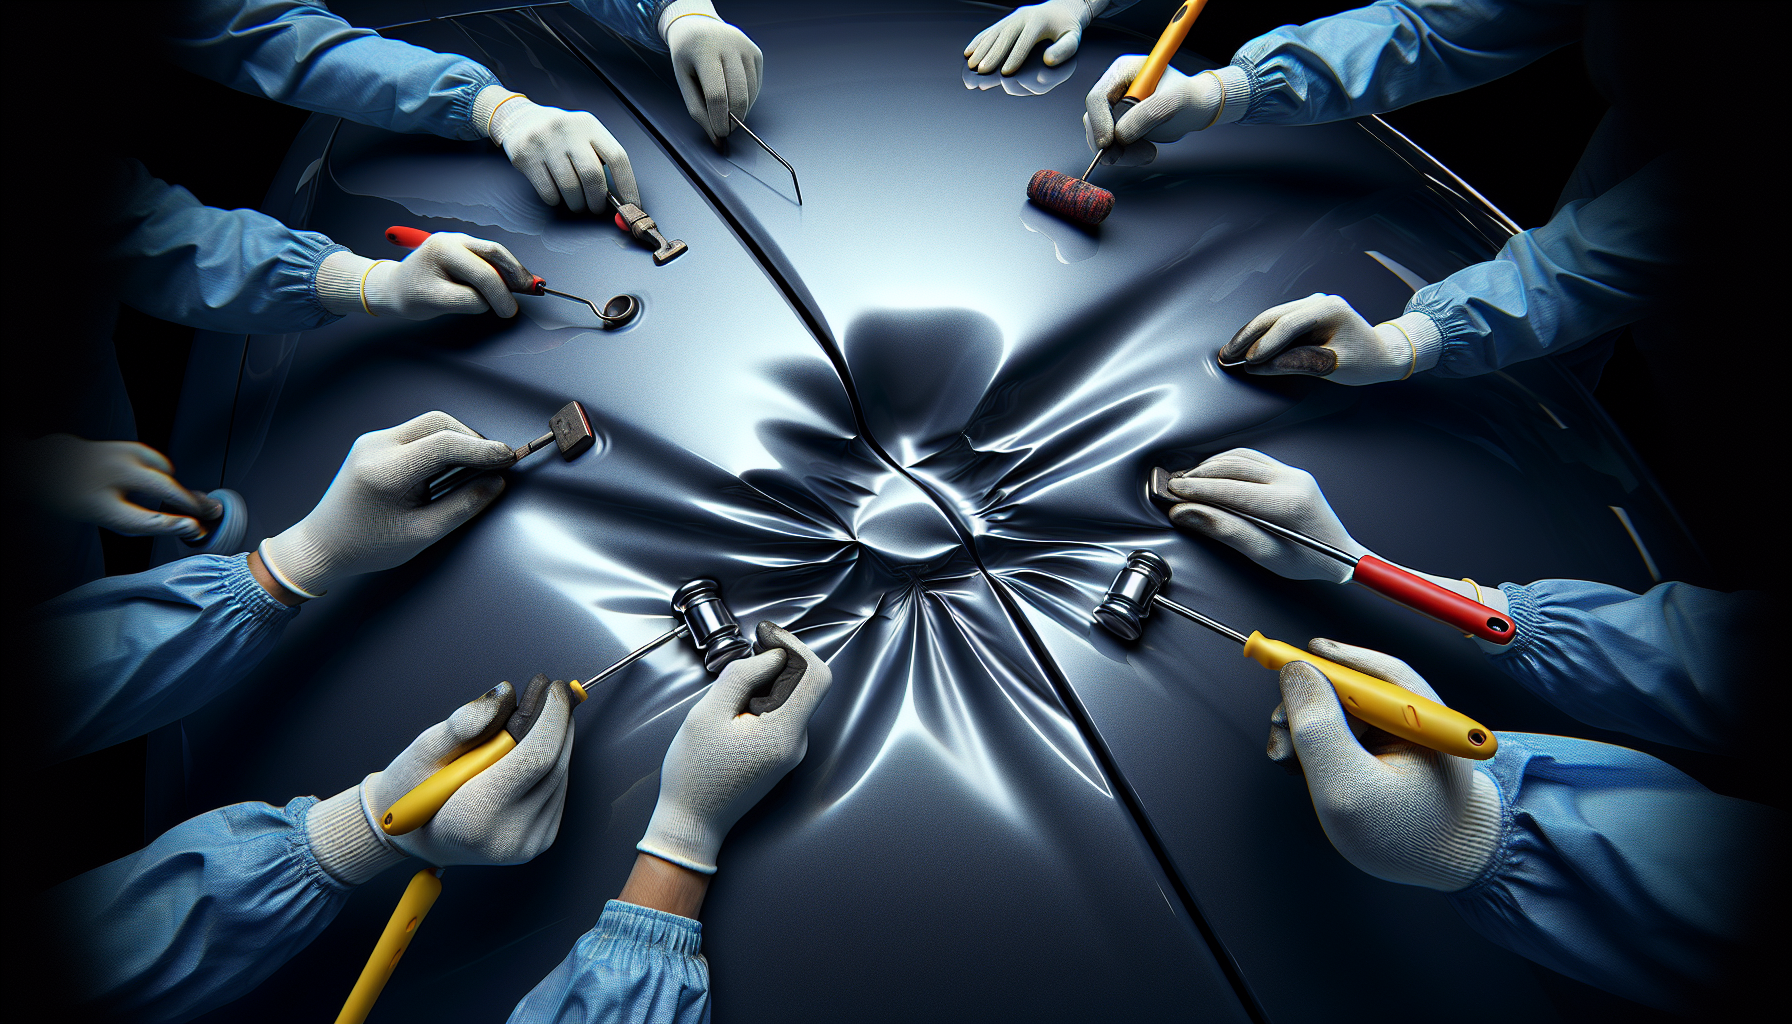
Paintless dent repair is a specialized technique that utilizes a series of specialized tools to massage the dented area from the backside of the panel, gradually restoring the metal to its original shape. This process is particularly effective for minor to moderate dents that haven’t caused any paint damage, making it an ideal solution for many common dents and dings.
One of the primary advantages of PDR is that it preserves the factory paint finish, ensuring a seamless and invisible repair. Additionally, it’s a highly cost-effective option compared to traditional dent repair methods that involve sanding, filling, and repainting.

Preparing for the Repair
Before you begin the repair process, it’s essential to ensure that the dent meets the criteria for a successful paintless dent repair. The dent should be shallow, with a gradual slope and no paint damage or creases. If the dent is deeper or has caused any paint issues, it may require a more comprehensive repair approach.
Once you’ve assessed the dent, gather the necessary tools and materials. The basic PDR toolkit includes:
1. Dent Removal Tools: These specialized tools, such as dent removal rods and knockdown tools, are designed to apply precise pressure and manipulation from the backside of the panel.
2. Lighting System: A high-intensity light source, such as a PDR light or an LED inspection light, is crucial for identifying the contours of the dent and monitoring your progress.
3. Painter’s Tape: This will help you mark the dent’s location and boundaries, ensuring you focus your efforts on the affected area.
The Step-by-Step Paintless Dent Repair Process
Now, let’s dive into the step-by-step process of repairing a dent using the paintless dent repair technique:
1. **Assess the Dent:** Carefully examine the dent, noting its size, depth, and location. This will help you determine the best approach and the appropriate tools to use.
2. **Clean the Area:** Use a clean microfiber cloth to gently wipe down the area around the dent, removing any dirt, debris, or contaminants that could interfere with the repair process.
3. **Mark the Dent:** Apply painter’s tape around the perimeter of the dent, creating a clear boundary for your repair efforts.
4. **Set Up the Lighting:** Position your high-intensity light source to cast a strong, directional light on the dented area. This will help you visualize the contours of the dent and monitor your progress.
5. **Select the Appropriate Tool:** Choose the dent removal tool that best suits the size and shape of the dent. Common tools include curved and straight dent removal rods, as well as knockdown tools for more accessible areas.
6. **Begin the Repair:** Carefully insert the dent removal tool into the backside of the panel, aligning it with the center of the dent. Apply gentle, progressive pressure, using the light to guide your movements and monitor the dent’s gradual disappearance.
7. **Work the Dent:** Slowly and methodically work the dent, moving the tool around the affected area to gradually restore the metal to its original shape. Be patient and avoid applying excessive force, as this can potentially cause further damage.
8. **Check Your Progress:** Periodically step back and inspect the dent under the strong lighting. Adjust your tool and technique as needed to achieve the desired results.
9. **Finish the Repair:** Once the dent has been successfully removed, remove the painter’s tape and inspect the area to ensure a smooth, seamless finish.
It’s important to note that the difficulty level of this repair depends on the size and depth of the dent, as well as the location on the vehicle. Smaller, shallower dents are generally easier to repair, while deeper or more complex dents may require more skill and experience.
To see a demonstration of this process, check out the [no-follow] video tutorial: [link to demonstration video].
Remember, always prioritize safety when working on your vehicle. Wear appropriate personal protective equipment, such as safety glasses and gloves, and take the necessary precautions to protect yourself and your car throughout the repair process.
By mastering the art of paintless dent repair, you can save time and money while restoring your car’s pristine appearance. With a little practice and the right tools, you’ll be able to tackle even the most challenging dents with confidence and achieve professional-grade results.